Crafting a Sanctuary for Your Treasures: A Guide to Making a Jewelry Box at Home
Related Articles: Crafting a Sanctuary for Your Treasures: A Guide to Making a Jewelry Box at Home
Introduction
With great pleasure, we will explore the intriguing topic related to Crafting a Sanctuary for Your Treasures: A Guide to Making a Jewelry Box at Home. Let’s weave interesting information and offer fresh perspectives to the readers.
Table of Content
Crafting a Sanctuary for Your Treasures: A Guide to Making a Jewelry Box at Home

In a world overflowing with mass-produced goods, creating something unique and personal holds an undeniable charm. Crafting a jewelry box at home allows you to not only personalize your storage solutions but also imbue them with a sense of artistry and care. This endeavor offers a rewarding experience, transforming simple materials into a cherished piece that safeguards your valuable trinkets while adding a touch of elegance to your space.
The Allure of Handmade Jewelry Boxes:
The act of crafting a jewelry box transcends mere functionality. It is an opportunity to express your creativity, experiment with different materials and techniques, and ultimately, create a piece that reflects your individual style. This hands-on experience fosters a sense of accomplishment and pride, knowing that you have designed and built something with your own hands.
Beyond the personal satisfaction, a homemade jewelry box offers a multitude of benefits:
- Uniqueness: Mass-produced jewelry boxes often lack the individuality that comes with a handcrafted piece. You have complete control over the design, materials, and finishes, allowing you to create a truly one-of-a-kind treasure chest for your jewelry.
- Customization: Whether you prefer a classic wooden box, a whimsical painted design, or a modern minimalist aesthetic, the possibilities are endless. Tailor your creation to your specific needs and preferences, ensuring it perfectly complements your existing decor.
- Cost-effectiveness: While purchasing a pre-made jewelry box can be expensive, crafting one at home allows you to control your budget. You can utilize repurposed materials, explore budget-friendly options, and avoid the inflated prices associated with commercially available products.
- Sentimental Value: A handmade jewelry box becomes more than just a storage solution; it becomes a cherished keepsake. It represents your time, effort, and creativity, adding a layer of sentimental value that cannot be replicated by store-bought items.
Choosing Your Path: Selecting the Right Method for Your Jewelry Box:
The process of crafting a jewelry box involves a series of choices, starting with the method you wish to employ. Each approach offers its own advantages and challenges, allowing you to select the one that best aligns with your skill level and desired outcome.
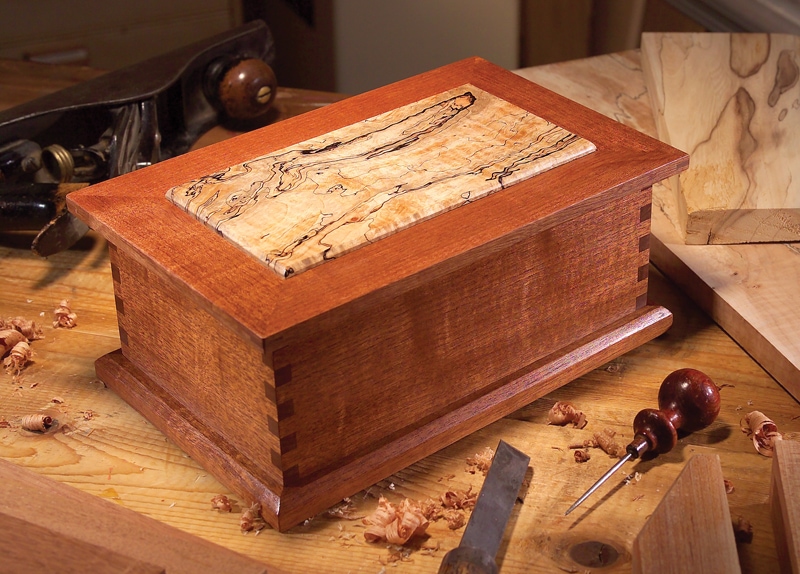
1. Building from Scratch:
This method involves constructing the box from individual pieces of wood, requiring a higher level of skill and precision. It offers the greatest degree of customization, allowing you to design every aspect of the box from its dimensions to its intricate details.
Tools and Materials:
- Woodworking tools (saw, drill, sander, etc.)
- Wood glue
- Wood screws
- Wood stain or paint
- Hinges and latch
- Optional: Decorative elements (inlays, carvings, etc.)
Steps:
- Design: Sketch your desired dimensions and layout, including compartments and dividers.
- Cut the wood: Precisely cut the pieces according to your design using a saw.
- Assemble the box: Join the pieces using wood glue and screws, ensuring tight and secure joints.
- Sand and finish: Smooth any rough edges and apply your chosen finish, whether it be stain, paint, or varnish.
- Install hinges and latch: Attach the hinges to the box lid and secure the latch to the box body.
- Add decorative elements: If desired, incorporate embellishments such as inlays, carvings, or decorative hardware.
2. Utilizing a Jewelry Box Kit:
For those seeking a less demanding approach, jewelry box kits provide a pre-cut and pre-shaped framework, simplifying the construction process. These kits typically include all the necessary components, including wood, hinges, and hardware, allowing you to focus on assembly and finishing.
Tools and Materials:
- Jewelry box kit
- Wood glue
- Wood screws
- Wood stain or paint
- Optional: Decorative elements (inlays, carvings, etc.)
Steps:
- Prepare the kit: Ensure all components are present and in good condition.
- Assemble the box: Follow the instructions provided with the kit, carefully joining the pieces using wood glue and screws.
- Sand and finish: Smooth any rough edges and apply your chosen finish, whether it be stain, paint, or varnish.
- Install hinges and latch: Attach the hinges to the box lid and secure the latch to the box body.
- Add decorative elements: If desired, incorporate embellishments such as inlays, carvings, or decorative hardware.
3. Repurposing Existing Materials:
Creativity knows no bounds, and repurposing existing materials can be a rewarding way to craft a unique jewelry box. Utilize old wooden boxes, vintage suitcases, or even decorative tin cans, transforming them into beautiful and functional storage solutions.
Materials:
- Repurposed material (wooden box, suitcase, tin can, etc.)
- Sandpaper
- Primer (if necessary)
- Paint or stain
- Optional: Decorative elements (fabric, ribbon, lace, etc.)
Steps:
- Prepare the material: Clean and sand the repurposed material, removing any dirt, rust, or imperfections.
- Apply primer: If using paint, apply a primer to ensure better adhesion and a smooth finish.
- Paint or stain: Apply your chosen color or finish, allowing it to dry completely.
- Add decorative elements: Incorporate fabric lining, ribbon trim, lace accents, or other decorative elements to enhance the aesthetic appeal.
- Create compartments: If necessary, add dividers or partitions using cardboard, fabric, or other materials to create separate compartments for your jewelry.
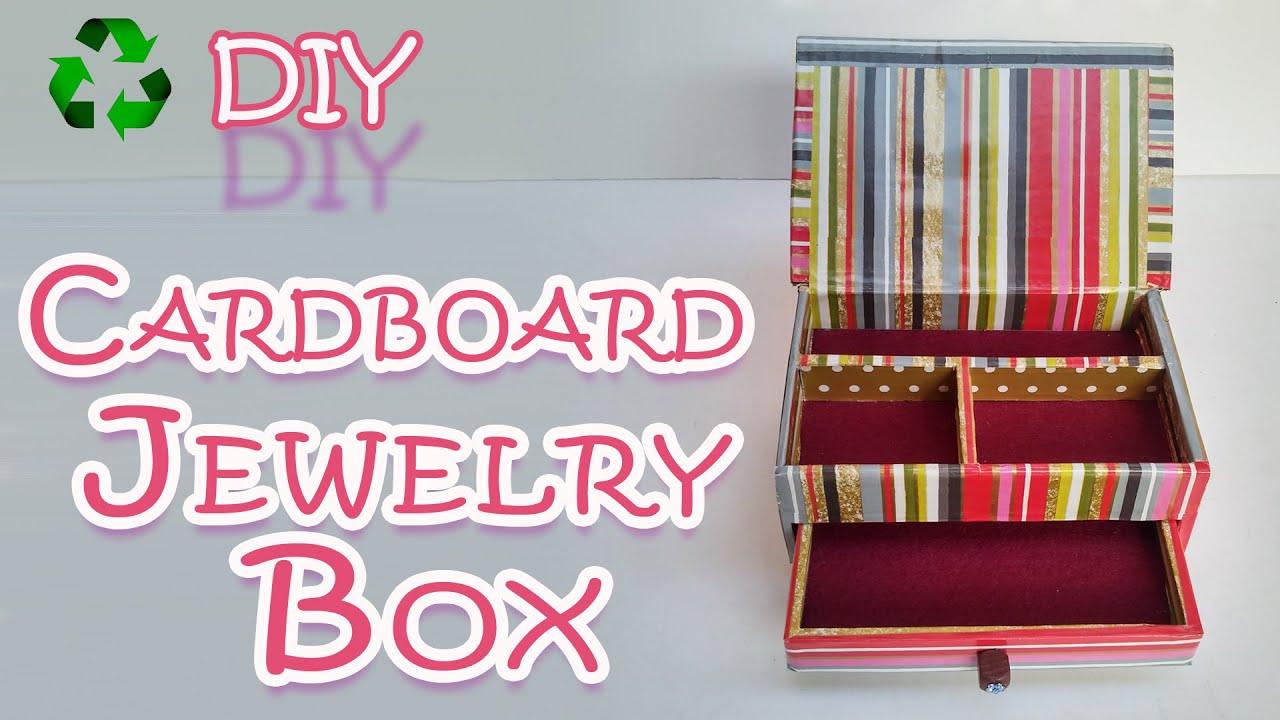
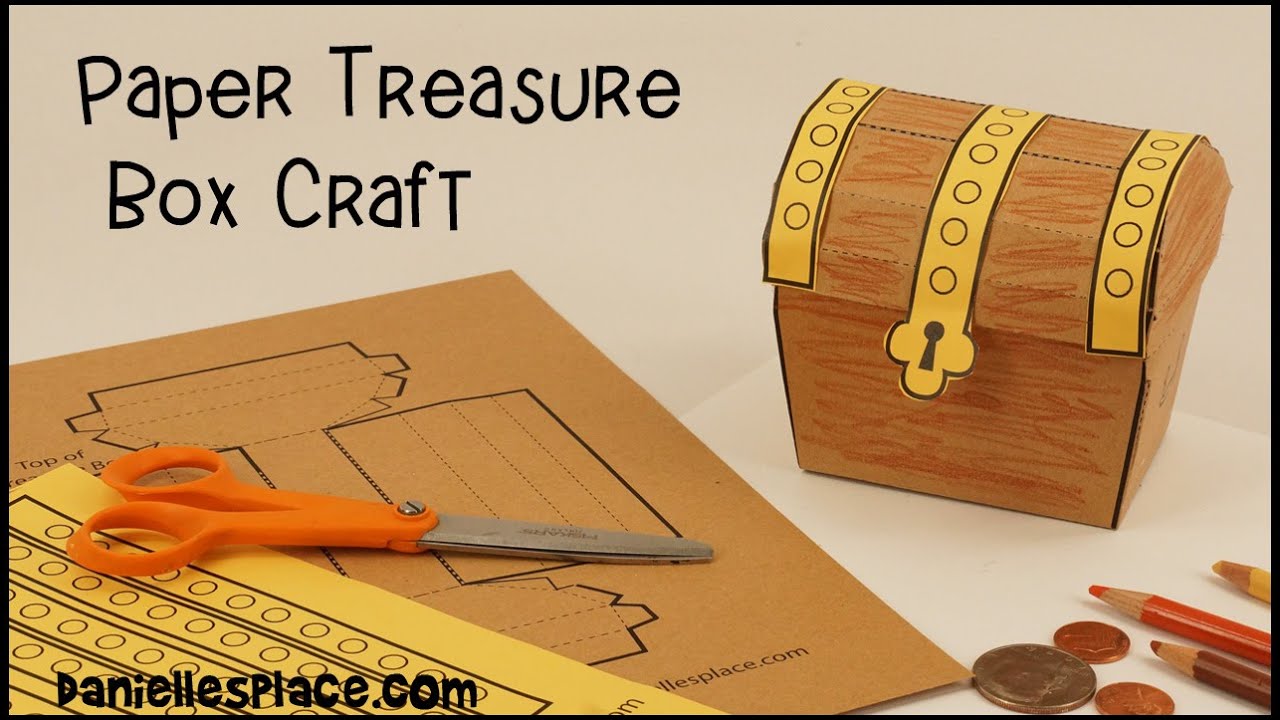
4. Embracing the Art of Papercraft:
For those seeking a more artistic approach, papercraft offers a versatile and accessible method for crafting jewelry boxes. Using cardboard, paper, and decorative elements, you can create intricate designs and patterns, bringing your vision to life.
Materials:
- Cardboard (different thicknesses)
- Decorative paper
- Glue
- Scissors
- Ruler
- Optional: Decorative elements (ribbons, beads, etc.)
Steps:
- Design and cut: Sketch your desired design on cardboard and carefully cut out the pieces.
- Decorate: Cover the cardboard pieces with decorative paper or fabric, using glue to secure them.
- Assemble the box: Glue the pieces together, ensuring strong and secure joints.
- Add decorative elements: Incorporate ribbons, beads, or other embellishments to enhance the design.
5. Exploring the World of Fabric:
Fabric offers a soft and elegant touch to jewelry boxes, allowing you to create a luxurious and personalized storage solution. Utilize different fabrics, patterns, and textures to create a unique and visually appealing box.
Materials:
- Fabric (different colors and textures)
- Cardboard or foam board
- Glue
- Scissors
- Optional: Decorative elements (buttons, beads, etc.)
Steps:
- Cut the fabric: Measure and cut the fabric according to your desired dimensions, leaving extra for seams and folds.
- Create the box: Use cardboard or foam board to create the base and lid of the box.
- Cover the box: Glue the fabric to the cardboard or foam board, ensuring a smooth and even application.
- Add decorative elements: Incorporate buttons, beads, or other embellishments to enhance the design.
Embellishing Your Creation: Adding a Touch of Personal Flair:
Once the basic structure of your jewelry box is complete, it’s time to add a personal touch through embellishments and decorative elements. This is where your creativity truly shines, allowing you to transform a simple box into a cherished piece of art.
1. Painting and Staining:
A coat of paint or stain can instantly transform the appearance of your jewelry box, adding color, texture, and a unique aesthetic. Explore different colors, finishes, and techniques to achieve your desired look.
2. Decorative Hardware:
Adding decorative hardware such as hinges, latches, and handles can enhance the functionality and visual appeal of your jewelry box. Opt for hardware that complements the overall design and adds a touch of elegance.
3. Inlays and Carvings:
For a more intricate look, consider incorporating inlays or carvings into the surface of your jewelry box. These techniques require a higher level of skill but can create stunning visual effects.
4. Fabric Lining:
Lining the interior of your jewelry box with fabric adds a touch of luxury and protection for your delicate jewelry. Choose a fabric that complements the overall design and provides a soft and elegant feel.
5. Embellishments:
Embellishments such as ribbons, beads, buttons, and lace can add a touch of whimsy and personalization to your jewelry box. Experiment with different colors, textures, and arrangements to create a unique and eye-catching design.
FAQs: Addressing Common Questions about Making a Jewelry Box at Home:
1. What tools and materials do I need to make a jewelry box at home?
The specific tools and materials required will depend on the method you choose to use. However, some common tools include:
- Saw
- Drill
- Sander
- Wood glue
- Screws
- Hinges
- Latch
- Wood stain or paint
2. How do I design a jewelry box?
Designing a jewelry box involves considering your needs, preferences, and the materials you are using. Sketch out your desired dimensions, compartments, and any decorative elements.
3. How do I cut wood for a jewelry box?
Use a saw to carefully cut the wood according to your design, ensuring precise measurements and clean cuts.
4. How do I assemble a jewelry box?
Follow the instructions provided with your chosen method, using wood glue and screws to join the pieces securely.
5. How do I finish a jewelry box?
Sand the surface of the box to smooth any rough edges and apply your chosen finish, such as stain, paint, or varnish.
6. How do I add decorative elements to a jewelry box?
Decorative elements can be added using various techniques, such as painting, staining, inlaying, carving, or embellishing with ribbons, beads, or buttons.
Tips for Crafting a Successful Jewelry Box:
- Plan ahead: Before you begin, carefully plan your design, considering the size, compartments, and decorative elements.
- Measure twice, cut once: Ensure precise measurements to avoid mistakes and ensure a well-fitting box.
- Use high-quality materials: Invest in durable and aesthetically pleasing materials for a lasting and beautiful jewelry box.
- Sand thoroughly: Smooth any rough edges to create a comfortable and polished finish.
- Practice patience: Building a jewelry box takes time and attention to detail. Don’t rush the process, and enjoy the creative journey.
Conclusion: A Journey of Creativity and Personalization
Crafting a jewelry box at home is more than just a DIY project; it is an opportunity to create a unique and personalized treasure chest for your precious belongings. By embracing your creativity and utilizing a range of techniques and materials, you can transform simple components into a beautiful and functional piece that reflects your individual style and adds a touch of elegance to your space. Whether you choose to build from scratch, utilize a kit, repurpose existing materials, or explore the world of papercraft or fabric, the journey of crafting a jewelry box offers a rewarding experience, leaving you with a sense of accomplishment and a cherished keepsake that embodies your creativity and care.

:max_bytes(150000):strip_icc()/instruct-jewelry-58f8e0543df78ca15979cc6f.jpg)


Closure
Thus, we hope this article has provided valuable insights into Crafting a Sanctuary for Your Treasures: A Guide to Making a Jewelry Box at Home. We appreciate your attention to our article. See you in our next article!