Illuminating Your Treasures: A Guide to Photographing Jewelry at Home
Related Articles: Illuminating Your Treasures: A Guide to Photographing Jewelry at Home
Introduction
With great pleasure, we will explore the intriguing topic related to Illuminating Your Treasures: A Guide to Photographing Jewelry at Home. Let’s weave interesting information and offer fresh perspectives to the readers.
Table of Content
Illuminating Your Treasures: A Guide to Photographing Jewelry at Home
In the digital age, captivating visuals are paramount to success, particularly for businesses selling jewelry. While professional studio photography is ideal, achieving stunning images at home is entirely possible with the right approach. This guide provides a comprehensive understanding of the techniques and considerations involved in creating professional-quality jewelry photographs within the comfort of your own space.
The Importance of High-Quality Jewelry Photography:
High-quality images are more than just aesthetically pleasing; they serve as powerful tools for promoting and selling jewelry. They:
- Attract attention and convey the beauty of the piece: Visuals are the first impression, drawing potential customers in and showcasing the intricate details and craftsmanship of the jewelry.
- Build trust and credibility: Professional-looking images instill confidence in the quality of the product and the seller.
- Increase engagement and conversion rates: Compelling visuals encourage interaction and lead to higher sales.
- Enhance brand identity and storytelling: Consistent and high-quality photography reinforces brand identity and helps tell the story behind the jewelry.
Setting the Stage: Essential Equipment and Supplies
Before embarking on your photographic journey, gather the necessary equipment and supplies:
- Camera: A DSLR or mirrorless camera with manual settings offers the most flexibility for capturing high-quality images. However, a smartphone camera with good resolution and manual settings can also produce excellent results.
- Lens: A macro lens is ideal for close-up shots, emphasizing intricate details. A standard lens can also be used, but a macro lens offers superior clarity and magnification.
- Lighting: Natural light is preferred, but consider using artificial light sources like softboxes, ring lights, or LED panels to ensure consistent and even illumination.
- Tripod: A tripod ensures stability and eliminates camera shake, particularly crucial when shooting with longer exposures or using a macro lens.
- White or Grey Background: A simple white or grey backdrop provides a clean and neutral canvas for showcasing the jewelry.
- Props (Optional): Depending on the style of jewelry, props like fabric, wood, or natural elements can add visual interest and context.
- Editing Software: Basic photo editing software like Adobe Photoshop, GIMP, or even smartphone editing apps can be used to adjust brightness, contrast, and color to enhance the final image.
Mastering the Fundamentals: Techniques for Stunning Jewelry Photography
Once equipped, focus on mastering these essential techniques:
1. Lighting: The Key to Brilliance
- Natural Light: Utilize soft, diffused natural light from a window. Avoid harsh direct sunlight, which can create harsh shadows and wash out details.
- Artificial Light: If natural light is unavailable or insufficient, use softboxes, ring lights, or LED panels. Position the light source directly in front of the jewelry, creating even illumination.
- Reflectors: Bounce light back onto the jewelry using reflectors, which can be made from white foam board, cardboard, or even a piece of white fabric.
- Avoid Shadows: Ensure the light is positioned to minimize harsh shadows, which can obscure details and detract from the overall image.
2. Composition: Framing Your Jewelry
- Rule of Thirds: Divide the image into a 3×3 grid and place the jewelry at one of the intersection points for visual interest.
- Symmetry and Balance: Create visually pleasing compositions by considering symmetry and balance within the frame.
- Focus and Depth of Field: Ensure the jewelry is the primary focus, using a shallow depth of field to blur the background and emphasize the subject.
- Negative Space: Allow space around the jewelry to prevent it from feeling cramped and to provide visual breathing room.
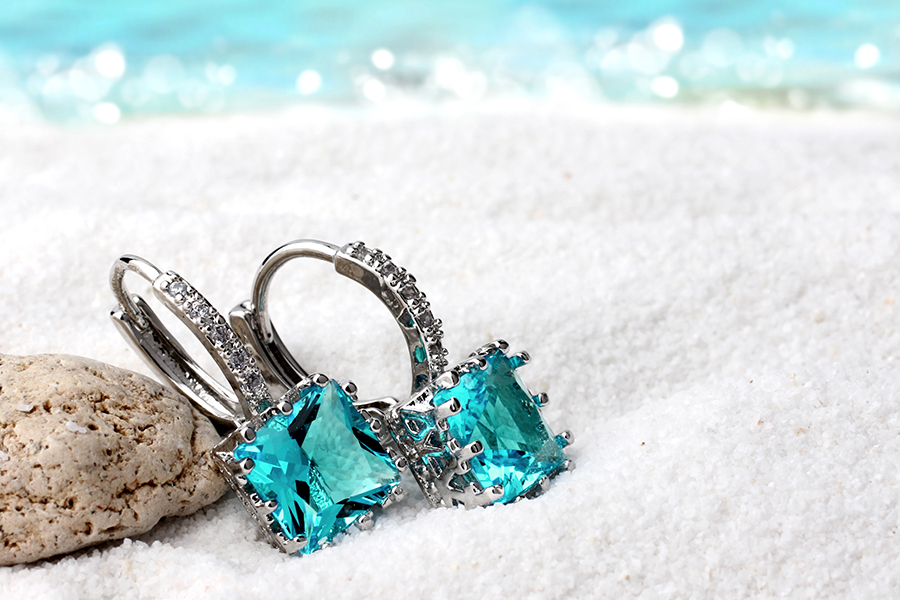
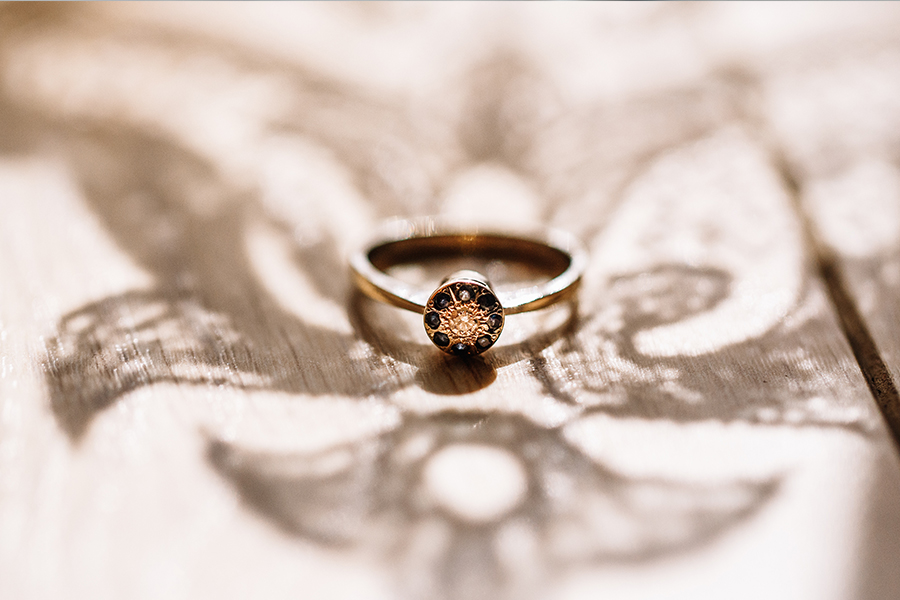
3. Background: Setting the Scene
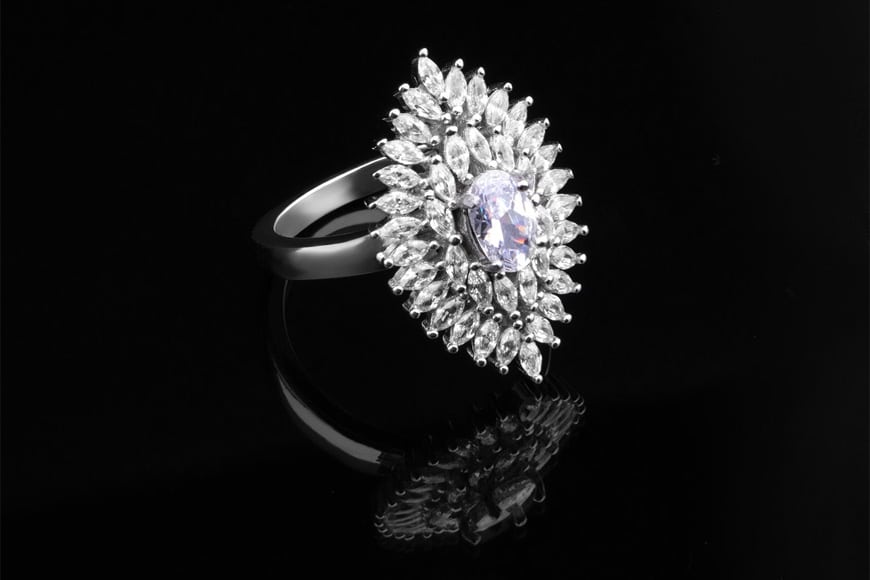
- Neutral Background: Opt for a simple white or grey backdrop for a clean and professional look.
- Texture and Color: Use textured backgrounds like wood, fabric, or natural elements to add visual interest and contrast.
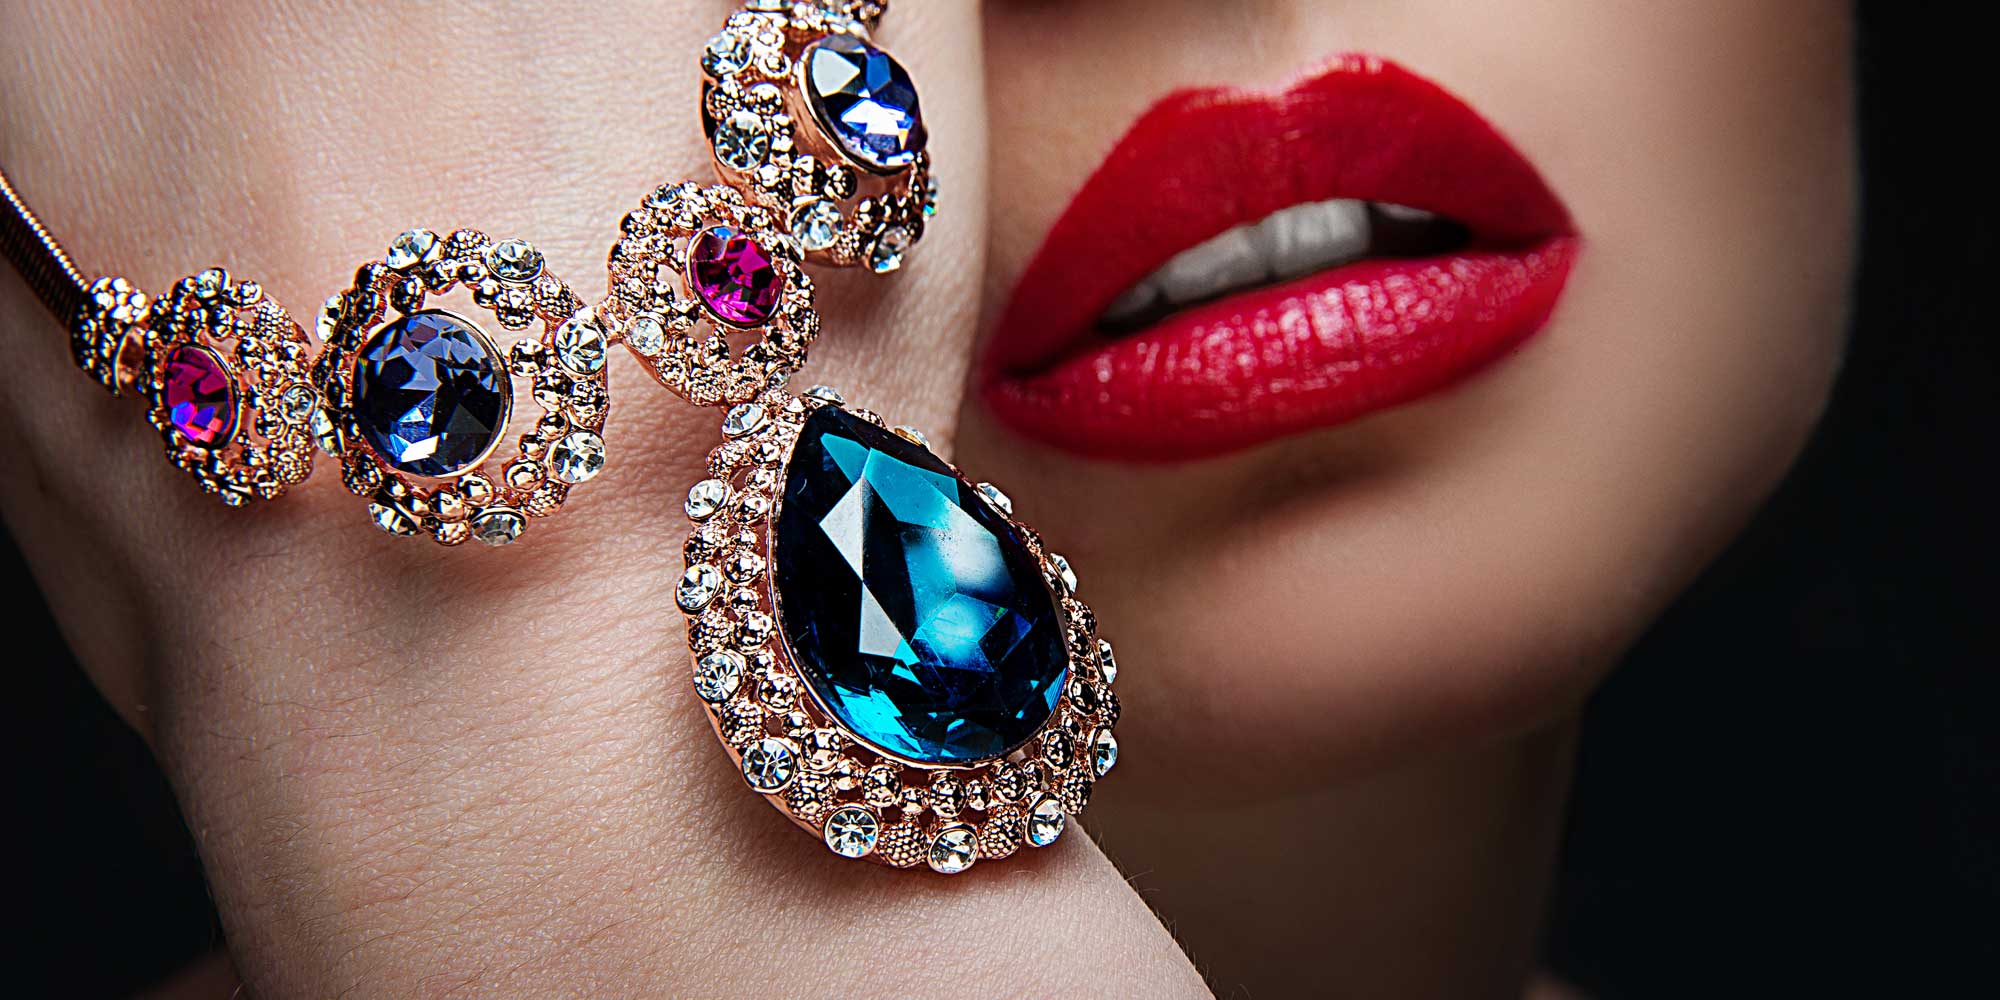
- Props: Incorporate props like flowers, shells, or stones to enhance the story behind the jewelry and create a more engaging image.
- Consistency: Maintain consistency in background choice across your product images to create a cohesive brand aesthetic.
4. Focus and Sharpness: Capturing Every Detail
- Manual Focus: Use manual focus to ensure the jewelry is perfectly sharp, particularly with macro lenses.
- Live View: Utilize the live view feature on your camera to zoom in and fine-tune focus.
- Tripod Stability: Use a tripod to minimize camera shake and ensure sharp images, especially when using longer exposures or macro lenses.
- Shutter Speed: Use a fast shutter speed to freeze any movement and prevent blur.
5. Post-Processing: Enhancing Your Images
- Brightness and Contrast: Adjust brightness and contrast to enhance the visual appeal and clarity of the image.
- Color Correction: Correct any color casts or imbalances to ensure accurate representation of the jewelry.
- Cropping and Resizing: Crop and resize the image to optimize it for online platforms and social media.
- Sharpening: Apply sharpening to enhance details and create a crisp and defined image.
Frequently Asked Questions:
Q: What is the best camera for photographing jewelry at home?
A: A DSLR or mirrorless camera with manual settings offers the most flexibility. However, a smartphone camera with good resolution and manual settings can also produce high-quality images.
Q: What kind of lighting is best for jewelry photography?
A: Soft, diffused natural light is ideal. If natural light is not available, use softboxes, ring lights, or LED panels to create even illumination.
Q: How can I avoid reflections in my jewelry photos?
A: Use a polarizing filter on your lens to reduce glare and reflections. Position your lighting to minimize reflections from the jewelry.
Q: How do I create a professional-looking background?
A: Use a simple white or grey backdrop for a clean and professional look. You can also use textured backgrounds like wood, fabric, or natural elements.
Q: What are some tips for photographing delicate jewelry?
A: Use a macro lens to capture intricate details. Utilize a tripod for stability and a slow shutter speed to prevent blur.
Q: How can I edit my jewelry photos to make them look more professional?
A: Use photo editing software to adjust brightness, contrast, color, and sharpness. Crop and resize images for online platforms and social media.
Tips for Success:
- Experiment with different lighting and angles.
- Use a tripod to ensure stability and sharpness.
- Keep your background simple and clean.
- Focus on the details and the beauty of the jewelry.
- Edit your photos carefully to enhance their visual appeal.
Conclusion:
Mastering the art of photographing jewelry at home is a rewarding endeavor that can significantly elevate your online presence. By understanding the fundamentals of lighting, composition, focus, and post-processing, you can create stunning visuals that showcase the beauty and craftsmanship of your jewelry, ultimately leading to increased engagement and sales. Remember, practice and experimentation are key to achieving professional-quality results, so embrace the journey of capturing your treasures in the most captivating way possible.


Closure
Thus, we hope this article has provided valuable insights into Illuminating Your Treasures: A Guide to Photographing Jewelry at Home. We thank you for taking the time to read this article. See you in our next article!